Heart of New England
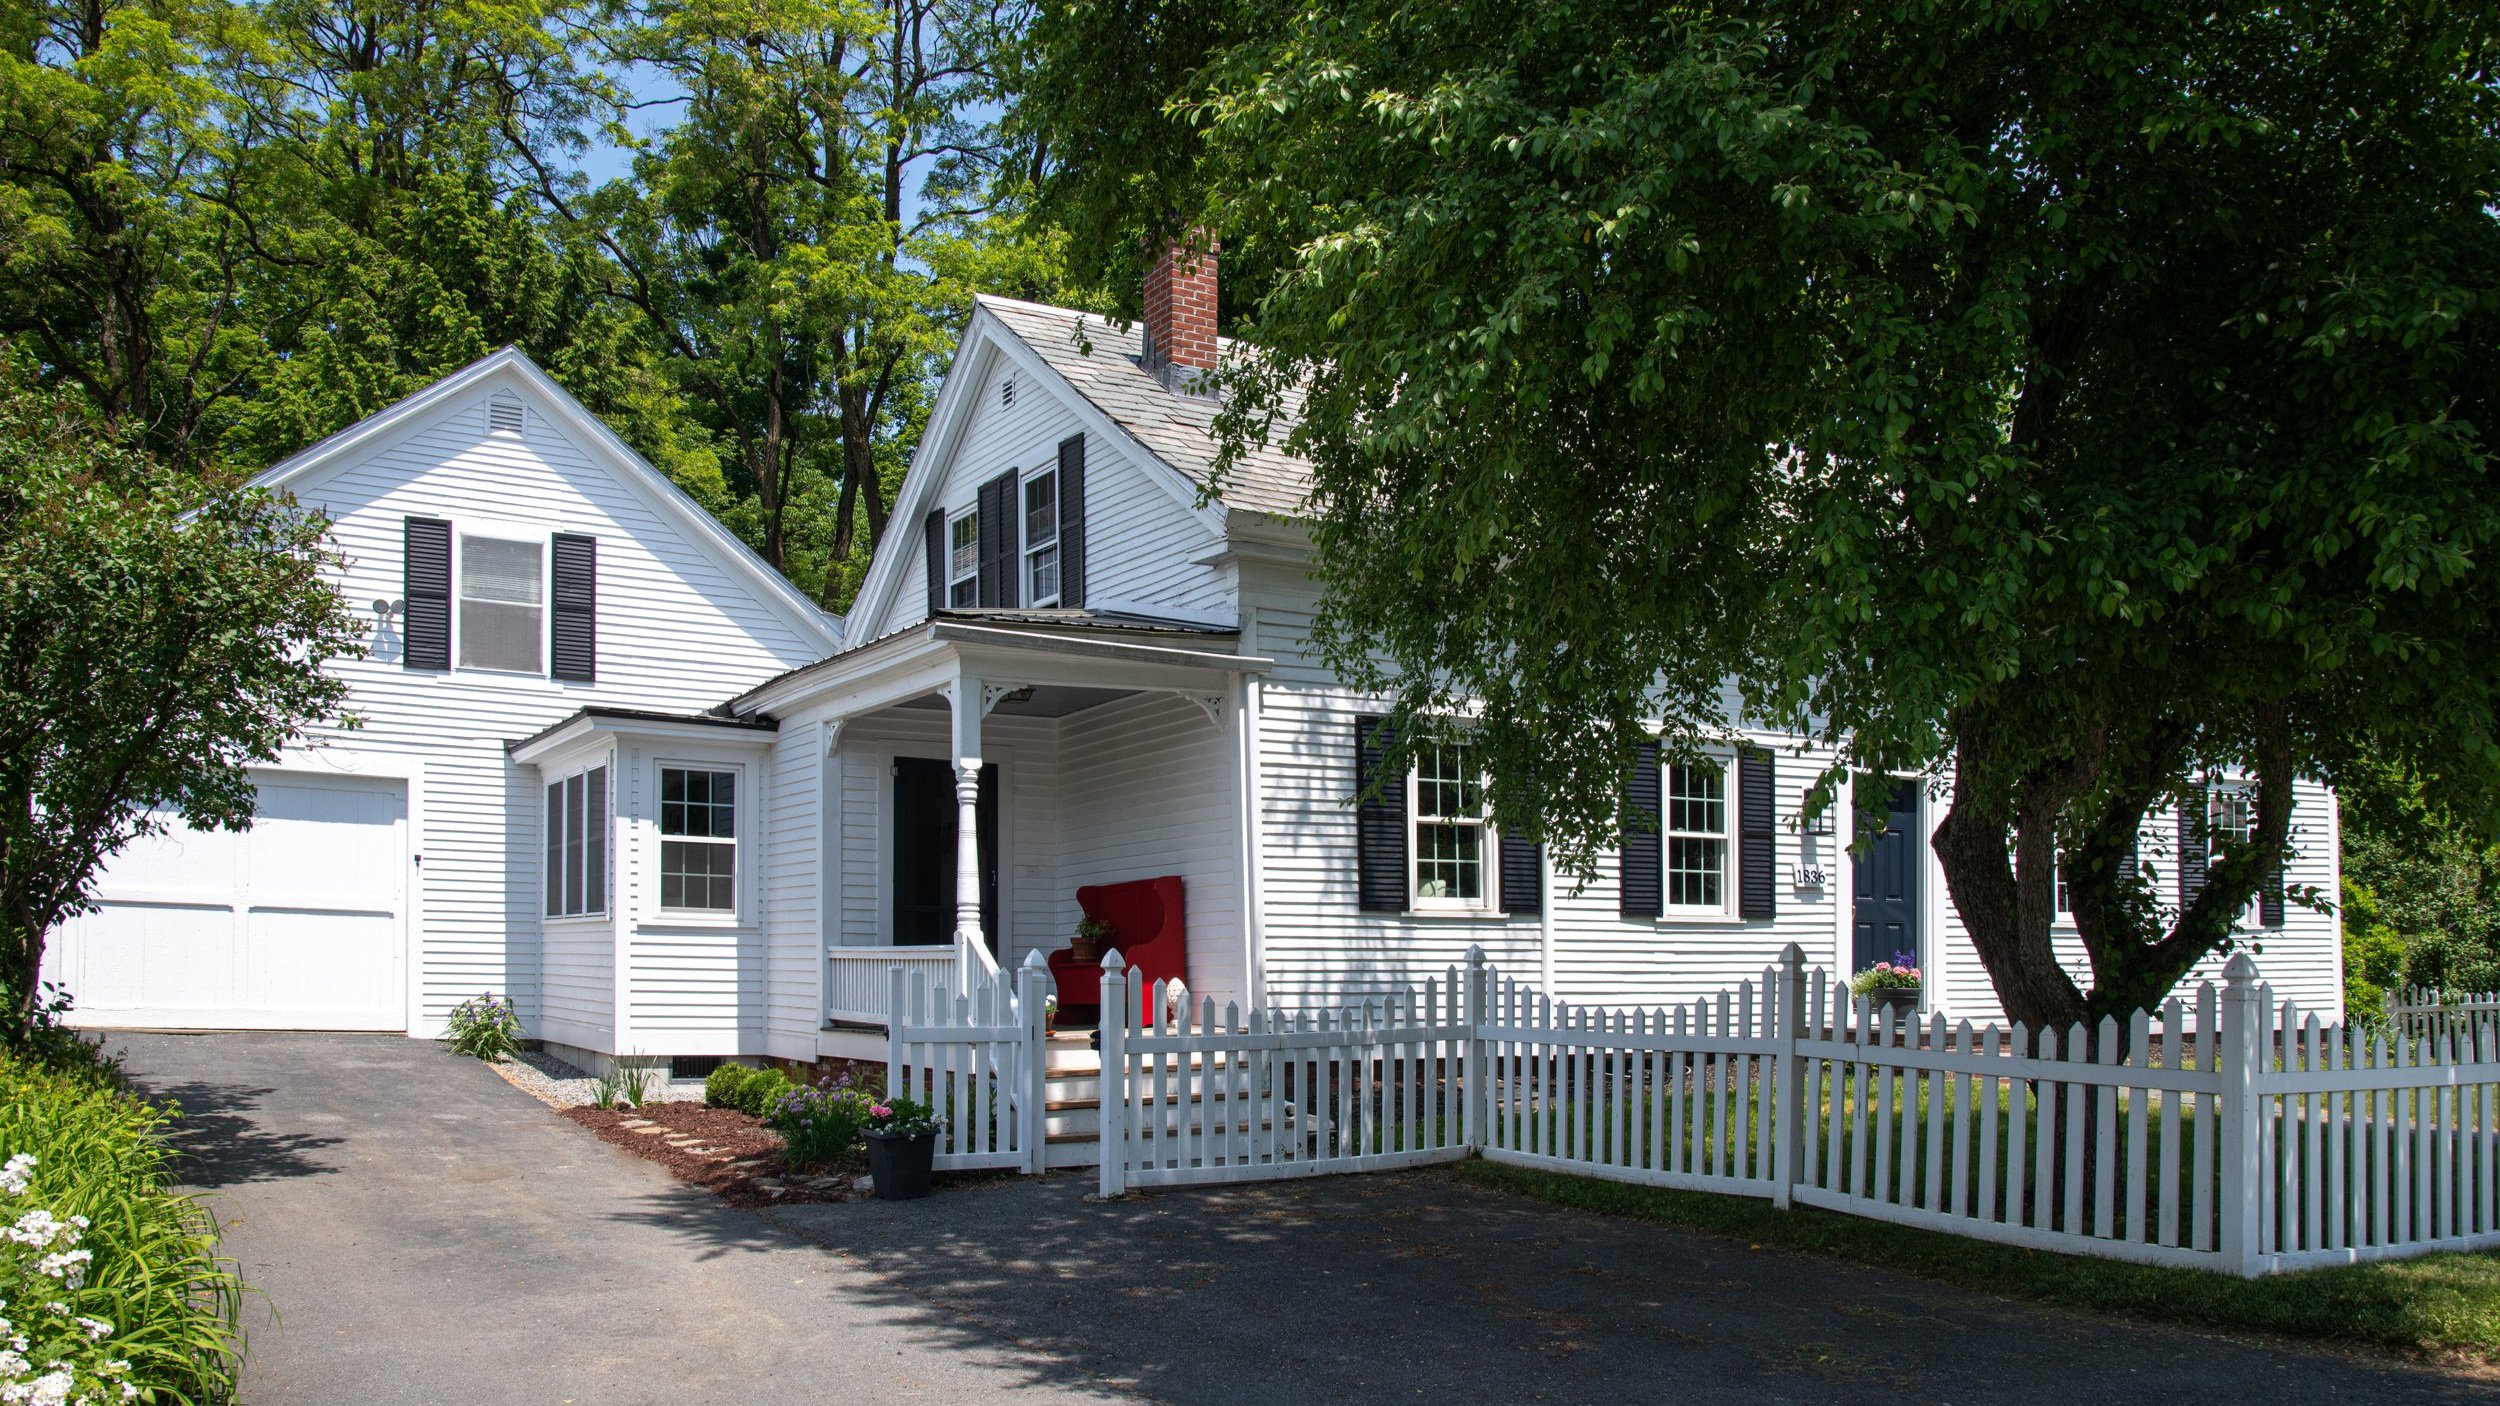
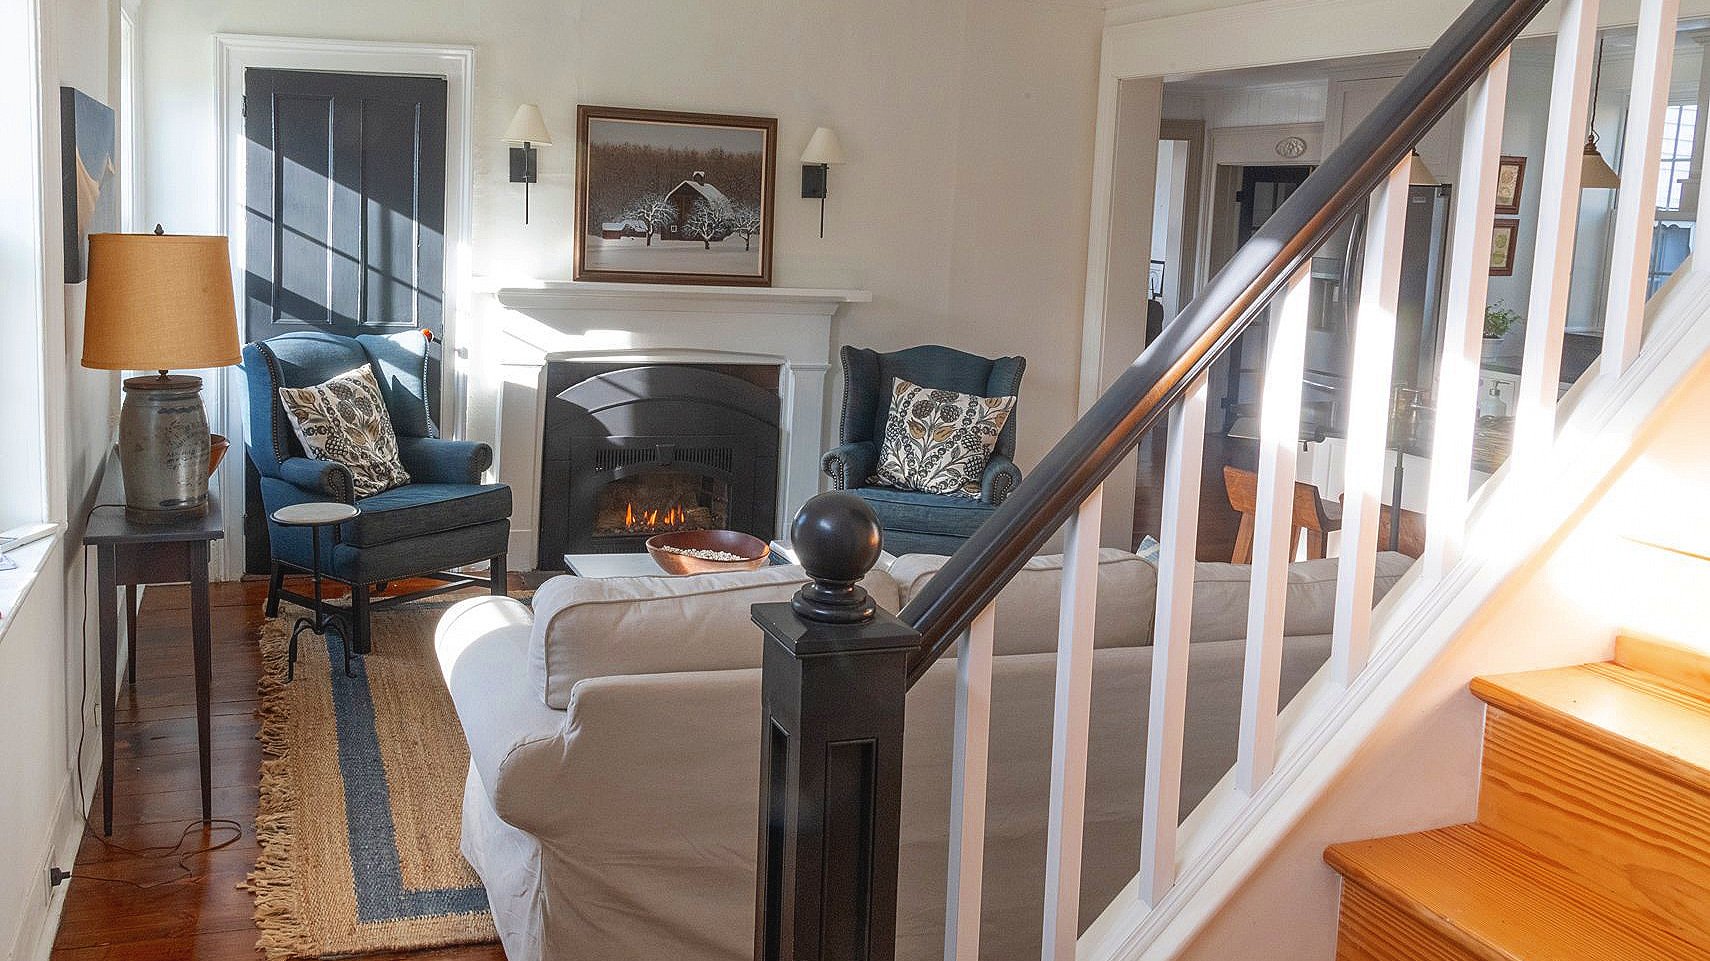
We absolutely fell in love with this 1836 early Greek Revival and it’s location in a small iconic New England village. How did we end up here? While living in Michigan, a good friend in North Carolina found this house online for us in New Hampshire. The icing on the cake? A cousin living just a few blocks down the street! A new home, nine hours away from our Michigan home, in a small little bucolic town with family already there. What were the odds? The world grows smaller all the time. Having longed for years to live in New England, we knew this would be our forever home. Despite its charms, it needed extensive repairs, but having renovated 5 prior properties, we felt confident enough to take this one on. Some projects of this cute little cottage we knew we could handle ourselves. Others, like leveling the floor and repairing the foundation, would require specialized help and we were more than ready to pass along the heavy lifting. We hired a great contractor and carved out a living space for us on the upper level, mostly away from all dust and construction chaos. We drew up a new floor plan, gutted the entire first floor, moved a wall, added a bump-out breakfast nook, installed a new master suite, remodeled the upstairs bath, added a new master bath and installed a new kitchen. How did we live through all that? First of all, a contractor who left the workplace fairly tidy each evening and the other… mindset. Trying as it was at times, we knew that focusing on the worst didn’t move the process any faster. It was best to just concentrate on the design plan for the interior space by researching the house’s history, creating a vision board and sourcing the right materials. Ten months later we finally settled into our beautiful new home. It had all been more than worth it.
Unstable foundation
Our initial walk-through revealed large 6x6 posts supporting the1st floor had become separated from the floor joists above. Those needed re-enforcing. In other places dry rot and insect damage required the replacement of new beams.
The stone foundation was in pretty good shape - no missing or fallen stones; nor were the walls leaning too badly out of line. But the original sand mortar between the boulders had washed away in many places. Tuck pointing (filling in the cracks with new mortar by hand) solved that issue.
Outdated Bathrooms
Originally the house had one full bath upstairs and a powder room on the first floor. Both needed upgrading. Everything was removed — ceiling, wall plaster, flooring, toilet and bathtub as well as all the fixtures. Ceiling and wall insulation, new vanity and toilet, bathtub, tile flooring and linen closet were installed. Everything received a fresh coat of paint while new bead board paneling and wall paper finished both jobs.
Peeling Paint
In the end, all the interior walls were re-plastered where necessary and given a fresh coat of paint to mitigate any possible lead paint issues. (Paint produced before 1978 used lead based formulas and have now been outlawed.)
Property Concerns
Uneven Floors
Yes, after almost 190 years, the house had settled a fair amount, as most older houses do. A 6 inch floor drop from the front to the back of the house would never suffice for us (especially for the grand kids playing marbles or cooks trying to level liquid ingredients on a sloping countertop!).
The remedy was to improve the grade from below and above. The floors could only be raised a few inches from below; any more and the windows and doors would fall out of square and be hard to operate. However,another few inches was gained by working to level the floor from above.
Leaking Stone Foundation Wall
Interestingly enough, running around the perimeter of the interior basement cement floor was a dirt trench. Long ago builders had discovered that is was better to work with the water flow rather than to trying to blockade it. In this case, the water cascading down the interior walls was directed it into the trench below. (Genius!) Constant patching is never a permanent solution as water will always have its way.
Today, much more elaborate and expensive water mitigation systems are often employed, but sometimes old ways are sometimes wise ways.
Outdated Kitchen
The kitchen was 70 years old and needed replacing. The kitchen was gutted. Plaster and lath came off the walls, leaving the original wall posts open and a stack of brick in between. (This “nogging” was apparently a very old building technique used as a firebreak or to prevent rodent infestation.) With the wall framing open, we noticed that the outside walls were beginning to separate from the rest of the house. (Yikes!) New bracing and heavy 90 degree angle strut brackets brought the wall back into alignment. Old cabinets were removed and repurposed in the workshop area while new shaker cabinets and soapstone countertops were installed in their place.
Outdated Electrical and Plumbing
The house was full of knob and tube wiring that was believed to have been installed around 1880. (This system was still in use up until the 1940s, believe it or not.) It’s generally thought that this is now outdated and unsafe, however some dispute this fact. Today, however, newer wiring methods are preferable. To be safe, most of the wiring was updated, except where old wiring existed inside plaster walls where access was unfeasible.
Pex and copper plumbing materials replaced corroded cast iron pipes and new plumbing fixtures were installed.
First Floor Master Suite
Originally this house was about 1800 square feet with 2 bedrooms and a bath upstairs. In order to make this house meet our needs, we wanted to create a first floor master suite. To do so, we repurposed the living room into a bedroom, borrowed space from the adjoining dining room for the master bath and repurposed a small, adjoining office space into a walk-in closet. And voila! We had our master suite which occupied the entire east end of the house and separated the master bedroom from the open kitchen area by a powder room and a main staircase.
Chimney and Roof Repair
The only real construction surprise we had not counted on was a repair to the chimney bricks and flashing as well as the replacement of some broken or loose slate roofing tiles. Luckily, living in New England, slate and chimney repair professionals are pretty common and in great demand.
Scratched and Poorly Painted Floors
The original random width pine floors were still in place but had seen many years of wear. All had turned a deep shade of orange, from many coats of shellac, which was the typical floor protectorate back in the day. All the kitchen floor boards had to be replaced. The old boards were painted and repurposed as wall paneling - nail holes, gouges and all. (Added lots of character!) The new pine replacement flooring got a fresh coat of antique pine stain and three coats of polyurethane.


Get Your FREE Guide!
12 Ways To Prepare Yourself and Your Home For A New Empty Nester Lifestyle
Now that your kids have left the nest, your life is going to be in transition. This FREE guide will offer helpful suggestions for creating a new mindset to help you face this next chapter and offer some refreshing new interior design ideas to help you envision your home with new revitalized energy.


